NEW WORK ORDER
Once a new Sales Order (SO) is created, you can proceed to create a new Work Order (WO).
Click on the symbol ![]() next to the Sales Order code to expand the space containing the details of the work order related to the product.
next to the Sales Order code to expand the space containing the details of the work order related to the product.

Press the "+" button to open a form for entering the work order data in the space below.
Input all necessary data into the form.
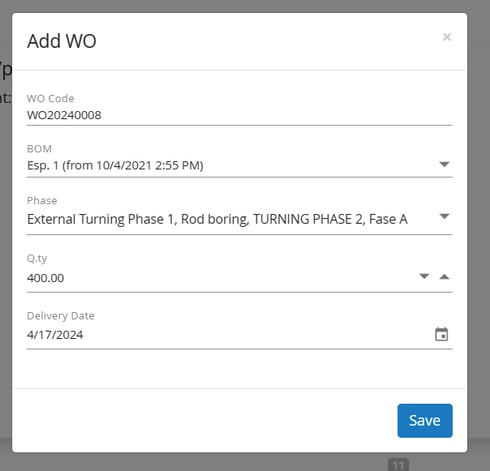
- The new unique work order code is automatically assigned
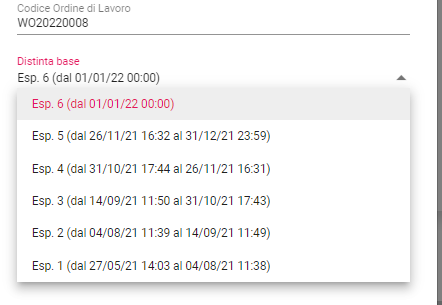
- the versions (esponents) of the BOM are listed
-
The proposed qty is the one attributed to the sales order entry, as well as the delivery date.
 Phases will appear below according to BOM version selected.
It is possible to remove phases, because for example, for a specific production some are not of interest but it is not possible to add new ones. To do this, it is necessary to review the workflow of the BOM.
After entering the data, click the Save button to save the Work Order.
To view the progress of the Work Order, click on the symbol ![]() next to the progress bar of the number of counted pieces made. This action expands the details of the WO.
next to the progress bar of the number of counted pieces made. This action expands the details of the WO.

Real-time Updates Note that information on counted pieces and actual times will be updated in real-time as they are produced by the interconnected machinery.
Modifying Work Orders:
-
- To modify a Work Order, click on the "pencil" symbol.
- A pop-up window will appear, allowing you to edit the data.
- After making the necessary changes, choose to Save or Delete the selected order.
